Introduction
This article describes how we can change ListView SelectedItem bg color in Xamarin.Forms. Sometimes we may need to set different bg color for ListView selected item, So in this article, we can learn how to achieve this functionality using CustomRenderer.
Requirements:
- This article source code is prepared by using Visual Studio 2017. And it is better to install latest visual studio updates from here.
- This article is prepared on a MAC machine.
- This sample project is Xamarin.Forms .Net standard project.
- This sample app is targeted for Android, iOS. And tested for Android & iOS.
Description:
The creation of Xamarin.Forms project is very simple in Visual Studio for Mac. It will creates three projects
1) Shared Code
2) Xamarin.Android
3) Xamarin.iOS
Because Mac system with Visual Studio for Mac it doesn't support Windows projects(UWP, Windows, Windows Phone)
The following steps will show you how to create Xamarin.Forms project in Mac system with Visual Studio,
First, open the Visual Studio for Mac. And Click on New Project 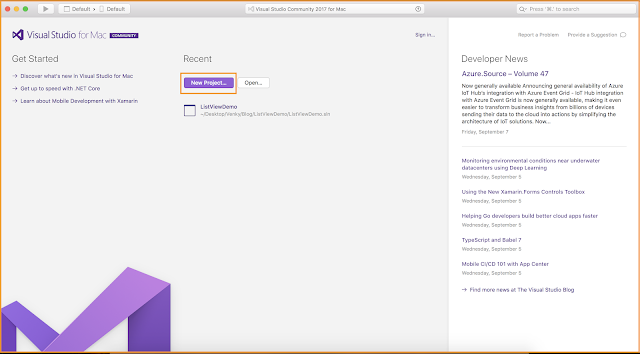
After that, we need to select whether you're doing Xamarin.Forms or Xamarin.Android or Xamarin.iOS project. if we want to create Xamarin.Forms project just follow the below screenshot.
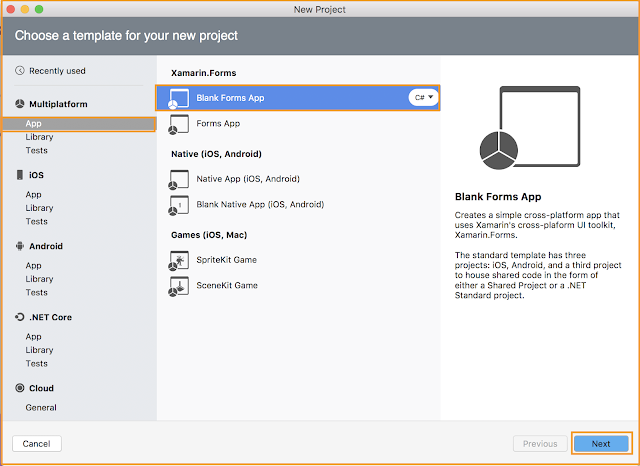
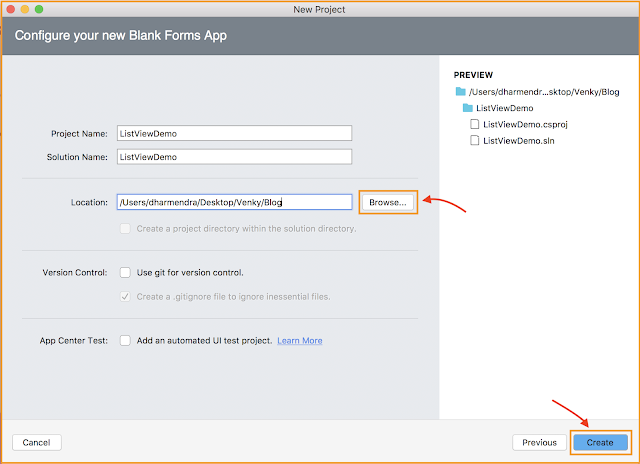
Give the App Name i.e ListViewDemo.

Note:
In the above screen under Shared Code, select use .NET Standard or Use Shared Library. Then click on Next Button and below screenshot will show you how to browse to save the project on our PC.
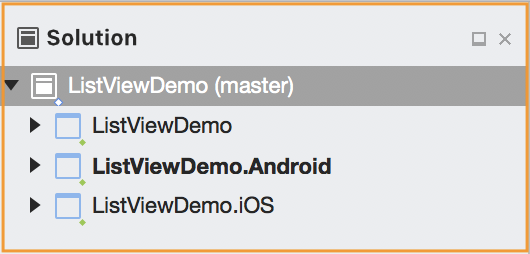
After click on Create, button it will create the ListViewDemo Xamarin.Forms project like below
- ListViewDemo: It is for Shared Code
- ListViewDemo.Droid: It is for Android.
- ListViewDemo.iOS: It is for iOS

We need to follow below few steps to change selected-item background color for ListView.
.Net Standard/PCL:
Step 1:
Create your own Xaml page name is ListViewPage.xaml, and make sure refer "CustomViewCell" class in Xaml by declaring a namespace for its location and using the namespace prefix on the control element. The following code example shows how the "CustomViewCell" renderer class can be consumed by a Xamlpage:
And here we are trying to set background color for ListView selected-item.
ListViewPage.xamlAnd here we are trying to set background color for ListView selected-item.
- <?xml version="1.0" encoding="UTF-8"?>
- <ContentPage xmlns="http://xamarin.com/schemas/2014/forms"
- xmlns:x="http://schemas.microsoft.com/winfx/2009/xaml"
- xmlns:custom="clr-namespace:ListViewDemo.CustomControls;assembly=ListViewDemo"
- xmlns:ios="clr-namespace:Xamarin.Forms.PlatformConfiguration.iOSSpecific;assembly=Xamarin.Forms.Core"
- BackgroundColor="White"
- x:Class="ListViewDemo.Views.ListViewPage">
- <ContentPage.Padding>
- <OnPlatform x:TypeArguments="Thickness"
- Android="0, 0, 0, 0"
- WinPhone="0, 0, 0, 0"
- iOS="0, 20, 0, 0"/>
- </ContentPage.Padding>
- <ContentPage.Content>
- <StackLayout Padding="30,40,30,0" Spacing="50" BackgroundColor="White" VerticalOptions="FillAndExpand" HorizontalOptions="FillAndExpand">
- <Label Text="ListView SelectedItemColor" HorizontalOptions="CenterAndExpand" FontSize="20" TextColor="Maroon" FontAttributes="Bold"/>
- <ListView Grid.Row="1" ItemsSource="{Binding OrdersList}" Footer="" ios:ListView.SeparatorStyle="FullWidth" HeightRequest="140" SeparatorColor="Gray">
- <ListView.ItemTemplate>
- <DataTemplate>
- <custom:CustomViewCell SelectedItemBackgroundColor="#ADF3BE">
- <ViewCell.View>
- <StackLayout Orientation="Horizontal" >
- <Label Text="{Binding OrderType}" VerticalOptions="CenterAndExpand" FontSize="Medium" Font="15" TextColor="Gray" HorizontalOptions="StartAndExpand"/>
- <StackLayout HorizontalOptions="EndAndExpand" Orientation="Horizontal" Spacing="15">
- <Frame OutlineColor="Green" HasShadow="false" Margin="0,8,0,8" BackgroundColor="Transparent" Padding="5">
- <Label Text="{Binding TotalCount}" HorizontalOptions="CenterAndExpand" VerticalOptions="CenterAndExpand" FontSize="10" TextColor="Red"/>
- </Frame>
- <Image Source="back_icon.png" VerticalOptions="CenterAndExpand" HeightRequest="16" WidthRequest="16" HorizontalOptions="EndAndExpand"/>
- </StackLayout>
- </StackLayout>
- </ViewCell.View>
- </custom:CustomViewCell>
- </DataTemplate>
- </ListView.ItemTemplate>
- </ListView>
- </StackLayout>
- </ContentPage.Content>
- </ContentPage>
Note:
The "custom" namespace prefix can be named anything. However, the clr-namespace and assembly values must match the details of the custom renderer class. Once the namespace is declared the prefix is used to reference the custom control/layout.
Step 2:
Add some simple list data to bind ObservableCollection to the ListView in code behind. Also here I'm not following MVVM design pattern.
ListViewPage.xaml.cs
- using ListViewDemo.ViewModels;
- using Xamarin.Forms;
- namespace ListViewDemo.Views
- {
- public partial class ListViewPage : ContentPage
- {
- public ListViewPage()
- {
- InitializeComponent();
- BindingContext = new ListViewPageViewModel();
- }
- }
- }
ViewModels:
ListViewPageviewModel.cs
- using System;
- using System.Collections.Generic;
- using System.Collections.ObjectModel;
- using System.ComponentModel;
- using System.Runtime.CompilerServices;
- using ListViewDemo.Models;
-
- namespace ListViewDemo.ViewModels
- {
- public class ListViewPageViewModel : INotifyPropertyChanged
- {
-
- ObservableCollection<Order> _ordersList;
- public ObservableCollection<Order> OrdersList
- {
- get
- {
- return _ordersList;
- }
- set
- {
- _ordersList = value;
- OnPropertyChanged("OrdersList");
- }
- }
-
- protected bool SetProperty<T>(ref T backingStore, T value,
- [CallerMemberName]string propertyName = "",
- Action onChanged = null)
- {
- if (EqualityComparer<T>.Default.Equals(backingStore, value))
- return false;
- backingStore = value;
- onChanged?.Invoke();
- OnPropertyChanged(propertyName);
- return true;
- }
-
- //INotifyPropertyChanged implementation method
- public event PropertyChangedEventHandler PropertyChanged;
- protected void OnPropertyChanged([CallerMemberName] string propertyName = "")
- {
- var changed = PropertyChanged;
- if (changed == null)
- return;
- changed.Invoke(this, new PropertyChangedEventArgs(propertyName));
- }
-
- public ListViewPageViewModel()
- {
- var ordersList = new ObservableCollection<Order>();
-
- ordersList.Add(new Order() { OrderType = "Completed Orders", TotalCount = "56566" });
- ordersList.Add(new Order() { OrderType = "Limit Orders", TotalCount = "878" });
- ordersList.Add(new Order() { OrderType = "Market Orders", TotalCount = "39856" });
- ordersList.Add(new Order() { OrderType = "Stop Orders", TotalCount = "056708" });
- ordersList.Add(new Order() { OrderType = "Imbalance Orders", TotalCount = "64775674" });
- ordersList.Add(new Order() { OrderType = "Conditional Orders", TotalCount = "56" });
- ordersList.Add(new Order() { OrderType = "Scheduled Orders", TotalCount = "1457575763" });
- ordersList.Add(new Order() { OrderType = "Mid-Point Orders", TotalCount = "2443" });
- ordersList.Add(new Order() { OrderType = "Odd lot Orders", TotalCount = "65781" });
- ordersList.Add(new Order() { OrderType = "Pending Orders", TotalCount = "9896" });
-
- OrdersList = ordersList;
- }
- }
- }
Step 3:
In .Net Standard/PCL, create a class name is CustomViewCell which should inherit any ViewCell.
CustomViewCell.cs
- using Xamarin.Forms;
-
- namespace ListViewDemo.CustomControls
- {
- public class CustomViewCell : ViewCell
- {
- public static readonly BindableProperty SelectedItemBackgroundColorProperty =
- BindableProperty.Create("SelectedItemBackgroundColor",
- typeof(Color),
- typeof(CustomViewCell),
- Color.Default);
-
- public Color SelectedItemBackgroundColor
- {
- get { return (Color)GetValue(SelectedItemBackgroundColorProperty); }
- set { SetValue(SelectedItemBackgroundColorProperty, value); }
- }
- }
- }
Xamarin.Android:
Step 3:
In .Net Standard/PCL, create a class name is CustomViewCell which should inherit any ViewCell.
CustomViewCell.cs
- using Xamarin.Forms;
- namespace ListViewDemo.CustomControls
- {
- public class CustomViewCell : ViewCell
- {
- public static readonly BindableProperty SelectedItemBackgroundColorProperty =
- BindableProperty.Create("SelectedItemBackgroundColor",
- typeof(Color),
- typeof(CustomViewCell),
- Color.Default);
- public Color SelectedItemBackgroundColor
- {
- get { return (Color)GetValue(SelectedItemBackgroundColorProperty); }
- set { SetValue(SelectedItemBackgroundColorProperty, value); }
- }
- }
- }
In Android project, create a class name is CustomViewCellRenderer and make sure to add renderer registration for our CustomViewCell class on above of the namespace.
CustomViewCellRenderer.cs- using System.ComponentModel;
- using ListViewDemo.CustomControls;
- using ListViewDemo.Droid.CustomControls;
- using Android.Content;
- using Android.Graphics.Drawables;
- using Android.Views;
- using Xamarin.Forms;
- using Xamarin.Forms.Platform.Android;
- [assembly: ExportRenderer(typeof(CustomViewCell), typeof(CustomViewCellRenderer))]
- namespace ListViewDemo.Droid.CustomControls
- {
- public class CustomViewCellRenderer : ViewCellRenderer
- {
- private Android.Views.View _cellCore;
- private Drawable _unselectedBackground;
- private bool _selected;
- protected override Android.Views.View GetCellCore(Cell item,
- Android.Views.View convertView,
- ViewGroup parent,
- Context context)
- {
- _cellCore = base.GetCellCore(item, convertView, parent, context);
- _selected = false;
- _unselectedBackground = _cellCore.Background;
- return _cellCore;
- }
- protected override void OnCellPropertyChanged(object sender, PropertyChangedEventArgs args)
- {
- base.OnCellPropertyChanged(sender, args);
- if (args.PropertyName == "IsSelected")
- {
- _selected = !_selected;
- if (_selected)
- {
- var extendedViewCell = sender as CustomViewCell;
- _cellCore.SetBackgroundColor(extendedViewCell.SelectedItemBackgroundColor.ToAndroid());
- }
- else
- {
- _cellCore.SetBackground(_unselectedBackground);
- }
- }
- }
- }
- }
Here OnCellPropertyChanged method instantiates background for ListView selected item.
Xamarin.iOS:
In iOS project, create a class name is CustomViewCellRenderer and make sure to add renderer registration for our RoundedCornerView class in above of the namespace.
In iOS project, create a class name is CustomViewCellRenderer and make sure to add renderer registration for our RoundedCornerView class in above of the namespace.
CustomViewCellRenderer.cs
- using ListViewDemo.CustomControls;
- using UIKit;
- using Xamarin.Forms;
- using Xamarin.Forms.Platform.iOS;
- using xamformsdemo.iOS.CustomControls;
- [assembly: ExportRenderer(typeof(CustomViewCell), typeof(CustomViewCellRenderer))]
- namespace xamformsdemo.iOS.CustomControls
- {
- public class CustomViewCellRenderer : ViewCellRenderer
- {
- public override UITableViewCell GetCell(Cell item, UITableViewCell reusableCell, UITableView tv)
- {
- var cell = base.GetCell(item, reusableCell, tv);
- var view = item as CustomViewCell;
- cell.SelectedBackgroundView = new UIView
- {
- BackgroundColor = view.SelectedItemBackgroundColor.ToUIColor(),
- };
- return cell;
- }
- }
- }
Here GetCell override method instantiates background for ListView selected item.
Output:


Please download the source code from below.
No comments:
Post a Comment